3 Go-To Lighting Setups for High-Volume Headshots with Gary Hughes
Want more information on this article? Get access to video content and additional supporting images. Launch the August 2017 issue of the magazine by logging in or signing up for a free account. Shutter Magazine is the industry’s leading professional photography magazine.
For 10 years, my wife, Julie, and I have made headshots the primary focus of our business, Hughes Fioretti Photography. As a matter of fact, my first paying gig as a photographer was shooting headshots of doctors at a medical convention, packed into a tiny corner of a trade show booth. Back then I didn’t quite understand the impact that type of situation would have on my methods of lighting. Every technique I developed over the next decade was based around learning to shoot a great, professional portrait quickly and in just about any location.
I’ve since refined the process, and have found that most of my lighting for high-volume headshots can be categorized into three main techniques.
Lighting Setup 1: The Light Tunnel
By far the most versatile and useful of my go-to setups, the light tunnel has the distinct advantage of being accomplished with only one light. More often than not, when on location, my team and I use nothing but speedlights to get the job done. This enables us to be compact, very mobile, flexible and fast. Almost nothing is more valuable to big corporate clients than efficiency, and this configuration offers exactly that.
I begin with one light with a small to medium-size modifier. Any strobe you have will be fine. The light and modifier I use most often in this situation is a Canon 600EX-RT Speedlite and a Speedbox 70 from XP PhotoGear. Whatever you use, this is your main light. With the subject seated (which makes shooting volume much easier), position your light about arm’s length from the subject and angled directly across the face, perpendicular to the direction of the face. This allows the soft light from the edge of the modifier to illuminate the face evenly on both sides of the nose while providing soft, directional light. The bottom edge of the modifier should be about level with the corner of the subject’s eye. This position creates the right direction of light, slightly down and from the side. Watch the shadow of the nose to make sure it isn’t angling up. This is how you know if the light is too low. Make sure the shadow of the nose is angling down, somewhere close to 45 degrees.
Next, use a reflector on the opposite side of the subject, directly opposite your light but angled slightly toward the face. I recommend white reflectors for beginners. They do a great job and reduce the risk of overfilling with light. Overfilling occurs when the reflector is too close, if a material is very reflective or both. This makes the fill light brighter than the main light, which breaks down the lighting pattern, creating undesirable results. Use the distance of the reflector to control the depth of the shadows. It’s a very simple way to give an image more or less contrast, also known as lighting ratio.
Finally, add a reflector (white for beginners) underneath the face, a bit below chest level. This adds some beautiful fill light from underneath, reducing shadows under the eyes and providing a nice highlight in the bottom of the iris. If you place the subject close enough to a simple seamless paper, canvas or muslin, you will find that the light coming from your strobe and reflectors can give a satisfactory amount of illumination for the background. If you need a little more separation from the background, you can easily add a second light to the ground behind the subject.
The benefits include being able to work in tight spaces and the use of minimal equipment, to achieve a traditional look.
Lighting Setup 2: The Flying Saucer
Out of my main setups for volume headshots, the flying saucer has the biggest wow factor because of its unconventional look in the world of professional portraits and because of the way the setup looks in person. The flying saucer can be a bit of a spectacle. To achieve it, I suspend a very large modifier (like the 8-foot Large OctoDome from Photoflex) from a boom arm in a clamshell configuration. It has drawn more than a few strange looks from clients and photographers, but the results speak for themselves.
Using a boom arm properly is an advanced technical proposition in any situation, let alone in a high-volume setting. It requires careful attention to detail and the correct support equipment to counterbalance the weight of the light. Practice using a boom extensively before using it with a client.
A clamshell setup, also known as beauty or butterfly lighting, is usually executed by suspending a small modifier, like a beauty dish, from a boom arm directly in front of and above the subject. A reflector or a second light source is added underneath the subject to fill in the inevitable harsh shadows from the small modifier. Beauty lighting is one of the most commonly used techniques in commercial portraiture, but only recently has it started to make its way to professional portraiture. A small light source like a beauty dish can cause harsh shadows on the face of a subject, and without proper fill, it can make your average person look ghoulish.
I used this technique many times before rotating it into my professional portraits on a regular basis if the subject would be flattered by it. Eventually I increased the size of the light source to the biggest one I could find. I discovered that the same configuration that is so harsh when using a smaller source becomes a look that makes almost everyone look great when that source is much, much bigger.
Angle the main light 15 degrees or so up, and suspend it so the lower end is at the head height of the subject but closer to the camera. Place the higher edge above the subject but about 6 to 10 inches from the tip of the nose. The bulk of the light from the modifier will end up hitting the ground unless you place a reflector underneath the face of the subject at just under chest height. This scoops up that light and bounces it back up, filling the shadows and resulting in a beautiful soft light that wraps around the face of the subject with subtle shadows under the nose, cheekbones and chin.
Beware of hanging the light over the head of the subject, which can result in the loss of the catchlights and dark pockets for eyes. Every subject has a different face shapes that receives light differently. A more prominent brow could make it more difficult to get the light in the eyes, so some adjustment might need to be done. Almost any background will work for this setup. Mostly I use a black or dark gray background and add either a hair light or a light on the background to get adequate separation.
With this pattern you get stylish, modern results that stand out from most professional headshots. It’s just difficult to set up properly with the boom, and requires lots of space.
Lighting Setup 3: The Bounce Fill
It’s no secret that I spend a lot of time shooting in offices and boardrooms. Sometimes they are huge, with floor-to-ceiling north-facing windows, and sometimes they are about the size of a broom closet. When I need to shoot a lot of people in a tight space quickly or move to different places around an office with almost no setup and breakdown time, my Speedlites come out and bounce fill saves the day. With one flash on camera and one off, I have created some of my favorite corporate images. As a bonus, shooting with TTL-capable lights like a Speedlite allows you to balance flash with the outdoors for some great backgrounds.
Using a Speedlite, a small modifier (my Speedbox 70 from XP PhotoGear works well here) and a stand as my main light, I can create exactly the look I want by filling in the shadows with a flash on camera. In most cases, it’s possible to bounce the on-camera light off a wall behind me or a ceiling above me, but when that’s not possible, I soften the light with a small modifier. I keep a Rogue FlashBender in my case for situations like this. It’s also possible to use any bounce card or white construction paper. I have used this setup more times than I can remember, and I am always surprised by how great the results are with such a simple approach. The bounce fill is by far the most portable and fastest setup in my arsenal.
The setup is portable, fast and easy, and requires very little space. A downside is that the Speedlite runs on AA batteries and has slow recycle times.
One of the best parts of shooting for a living is that we are constantly learning new techniques. When it comes to high-volume corporate headshots, it’s important to remember that efficiency is the name of the game.
It’s easy to get so wrapped up in gear and technology that you overlook the simplest way to get the job done well. Gather all the information, formulate a plan, be flexible and execute some great headshots.



This Post Has 6 Comments
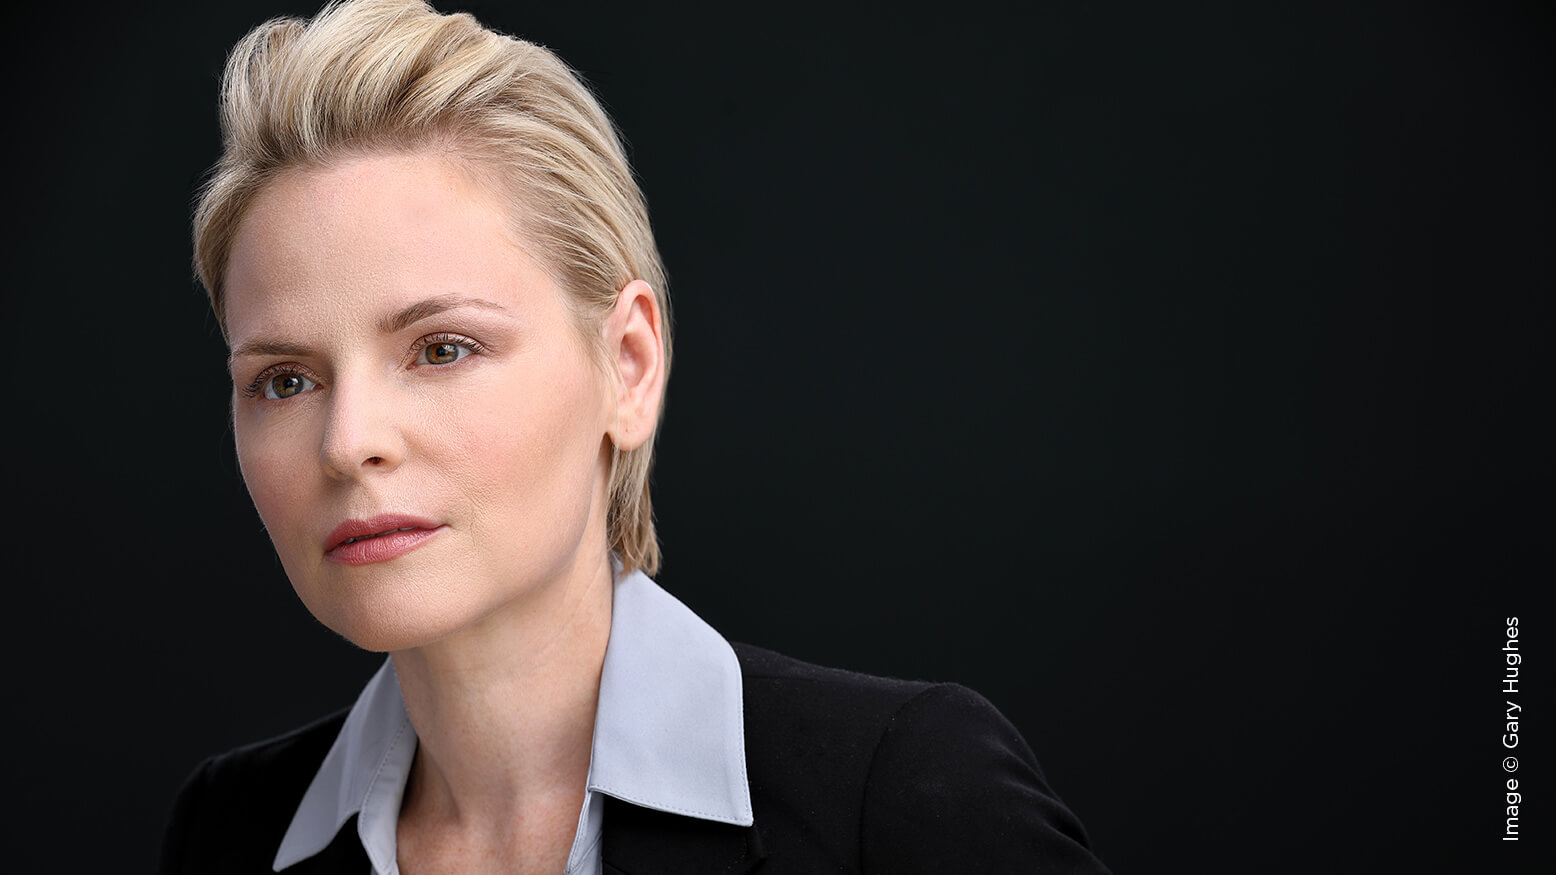
Why her face skin on this photo is so freaking unnatural?
i think thats the look they were going for. we were going to title this “3 go to set ups for unnatural headshots”, but after careful consideration, we realized it probably wouldn’t do well with SEO. So, we settled on this. Sorry for misleading you in this article.
It would be a whole lot nicer if the article included some sample shots of each setup as a visual aid. 🙂
hey Jack – did you log in and launch the magazine – per the directions above – to see more images? 🙂
I didn’t see anything like that from my mobile device, but when I logged in on my computer I found the link in a gray box. Thanks Sal!
you got it brother!