Down & Dirty Creative Editing in Lightroom Classic & Photoshop with Dustin Lucas
When it comes to Creative Editing in Lightroom & Photoshop, I am constantly pushing quality, but I also need to edit faster where it makes sense. Sneak peeks, or what I like to call down and dirty edits, are something I love to offer days after a session to take my client’s experience to the next level.
Now, it’s not just about editing fast and throwing something on social media; these edits are leading indicators for my in-person sales, or IPS. I use these images to get impactful reactions from clients to forecast what they may potentially spend. It’s all about showing more to sell more. If they don’t buy all the creatives, these edits are still used for marketing and booking the next client, remember that! End of the day, I want to know if I should double down on creatives to sell more or stick to my standard recipe. Whether I have two clients on deck or 10, editing fast allows me to scale this experience versus only offering it when I have time.
There are dozens of ways to edit an image in Lightroom and Photoshop. Here is how I use both programs to accomplish this. In Lightroom I build presets specifically to bulk apply custom profiles and local adjustments like the radial and graduated filters. This lets me fly through images without having to go into Photoshop every time. Photoshop allows me to apply actions on more complex edits as well as using Content Aware to remove unwanted distractions. I have a dodge and burn selection technique to really dial in my creativity as well. Let’s dive into Lightroom to get some edits started.
1. Lightroom Profile and Local Adjustments
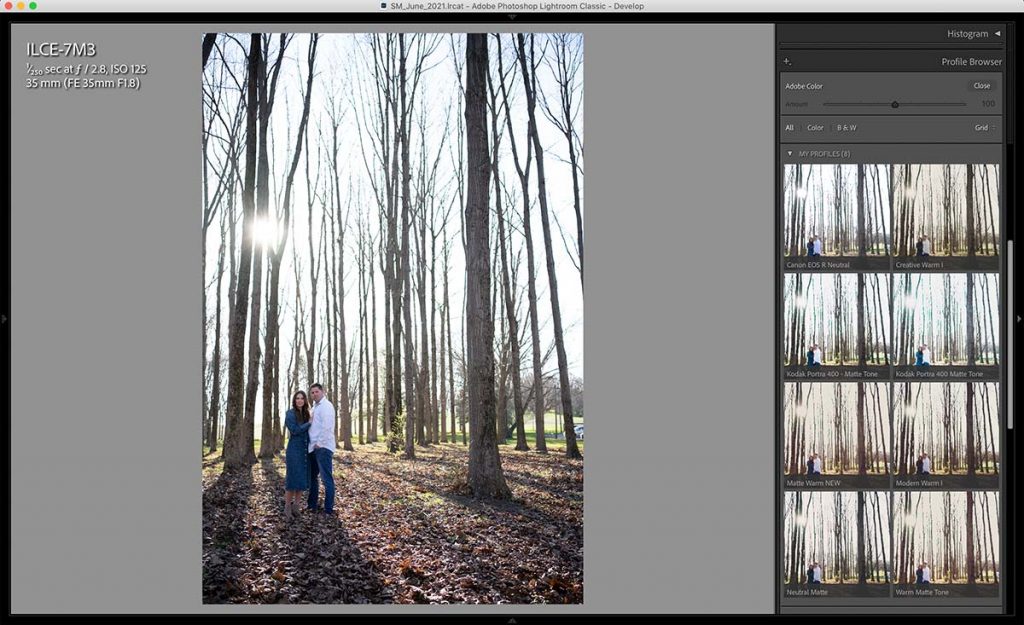
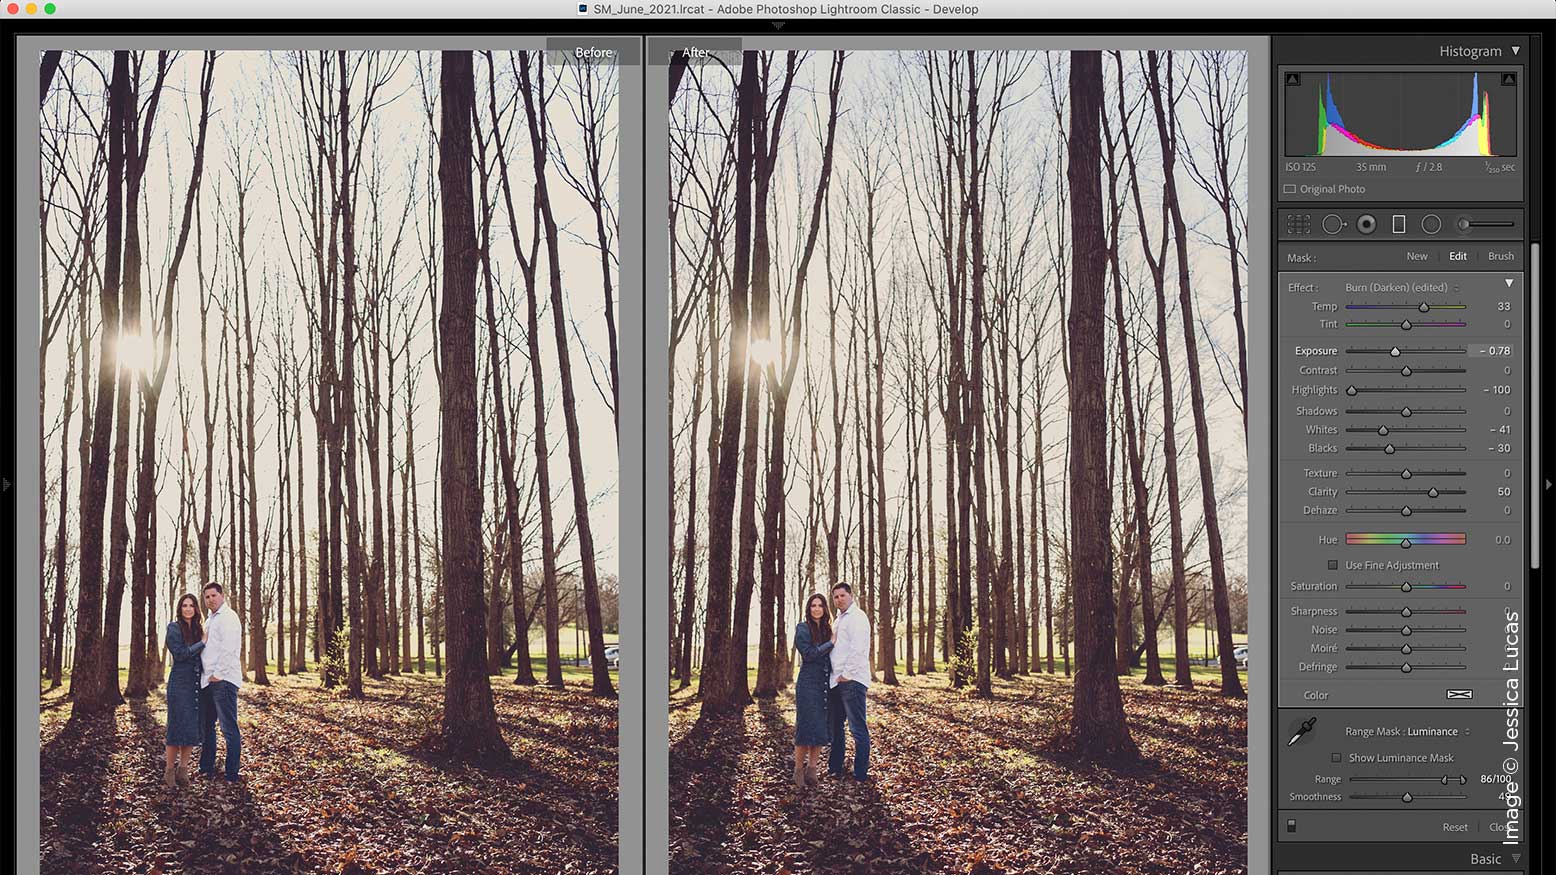
I am a huge fan of efficiency and Lightroom offers this like no other program, along with a powerful workflow to handle thousands of images. I exclusively use my Custom Profiles to get started on an edit. If you are interested in learning how to build these, check out my article from the February 2020 issue of Shutter Magazine: 5 Reasons to Build Custom Lightroom Profiles. This is the first step because it immediately shifts color and tonality in the image. You can see that after applying the profile Matte Warm NEW, my image immediately stands out from the shot out of camera, or SOOC. Now, we aren’t done by any means, because my subjects are getting lost in the background. We need to dodge our client and burn down the background.