It’s Time to Update: Top Features of Lightroom Classic v9.3 with Dustin Lucas
Whether you are an expert or fear all things tech, upgrading your computer’s operating system and applications is a must. Of course, many experts will advise against upgrading to the latest version as there are always bugs. The same applies here when it comes to the latest version of Lightroom Classic v9.3 (released in June). You are safe to upgrade to v9.3, however, I recommend checking out the system requirements first: https://helpx.adobe.com/mena_ar/lightroom-classic/system-requirements.html
It wouldn’t be the first time I’ve seen someone who was three or four operating systems behind the current one and paying monthly for a program they can’t install. For those of you who are in this situation, this upgrade might sting a bit, but you need to check into upgrading your computer’s OS first. In this article I will walk you through the best practices of upgrading to v9.3 and how to keep older Lightroom versions if you prefer to keep them installed as a backup. Next, we will dive into the performance and UI updates that make Lightroom more enjoyable. Some really cool features in this upgrade include local hue adjustment, new develop presets and creating ISO adaptive presets. ISO adaptive presets is an upgrade I have been waiting for years to be included. There are a lot of little features too, so we will cover all of that as well.
Best Practices of Upgrading Lightroom
Before upgrading, I recommend backing up your current Lightroom Classic app. (These steps are for Mac users and incompatible for PCs.) Once you open your Adobe Creative Cloud manager app you will see a notice for “Upgrade available.” Depending on what version you currently have installed (listed to the left), you can click the upgrade link to start the process. To get started, open Finder and navigate to your Lightroom Classic app. Right click, choose Rename, and change the app name to “Adobe Lightroom Classic v8.4.1.” You will see why this is important after we install the update; the “Adobe Lightroom Classic” app gets overwritten from v8.4.1 to the v9.3.
I always do this when upgrading Adobe apps because if the upgraded version is a dud then I don’t have to reinstall. This a is simple time saver and good backup strategy. Another awesome tip is you can duplicate Lightroom Classic to allow multiple instances of the app to be installed. Simply right click, choose Duplicate and open the “Adobe Lightroom Classic v8.4.1 copy” app. You’ll see a completely new instance of Lightroom Classic in the dock. This means you can have two completely different catalogs open at once. For anyone that creates a new catalog per client or event, this is a game-changer. Let’s proceed with updating to v9.3 and soak in all the new features.
Performance & Visual Improvements
First thing I noticed was there is a new “LrC” app icon in the dock to match the other new Adobe apps. It doesn’t add anything but is worth taking note so we can differentiate between older versions with the square corners. The biggest changes to User Interface or UI in v9.3 were made to Sync, Tone Curve and HSL/Color. I do not use Sync in Adobe Creative Cloud, however, you now have quicker access as it’s added to the Module tab at the top of your catalog. This tab allows you to monitor storage capacity and sync status, and change preferences by clicking the gear in the lower right corner.
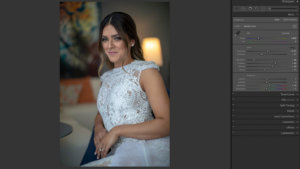
Tone Curve adds some visual improvements to make it easier to choose how to adjust. At the top of the editing panel you can choose the target adjustment tool, parametric curve with sliders, point curve for manual adjustments, and separate RGB channels showing where the color shifts on the point curve. Also, you can reset each RGB channel separately if you make a mistake or want to start over. Copying and pasting is now possible with the new Tone Curve features.
The HSL/Color panel has a simple visual layout now displaying color pins at the top to choose how to adjust HSL per color. Let’s move into the next Develop feature: hue local adjustments.
Hue Local Adjustment & Center Cropping
Lightroom brushes, or local adjustments, have had some pretty sizable upgrades in the past, adding presences sliders, range mask and auto mask, and all the hotkeys to make editing more efficient. Now we can fine-tune hue within our masks on Develop effects. This means you can shift colors specifically with a brush for more accurate results as opposed to the select a color option. This isn’t a massive upgrade, but a new feature nonetheless.
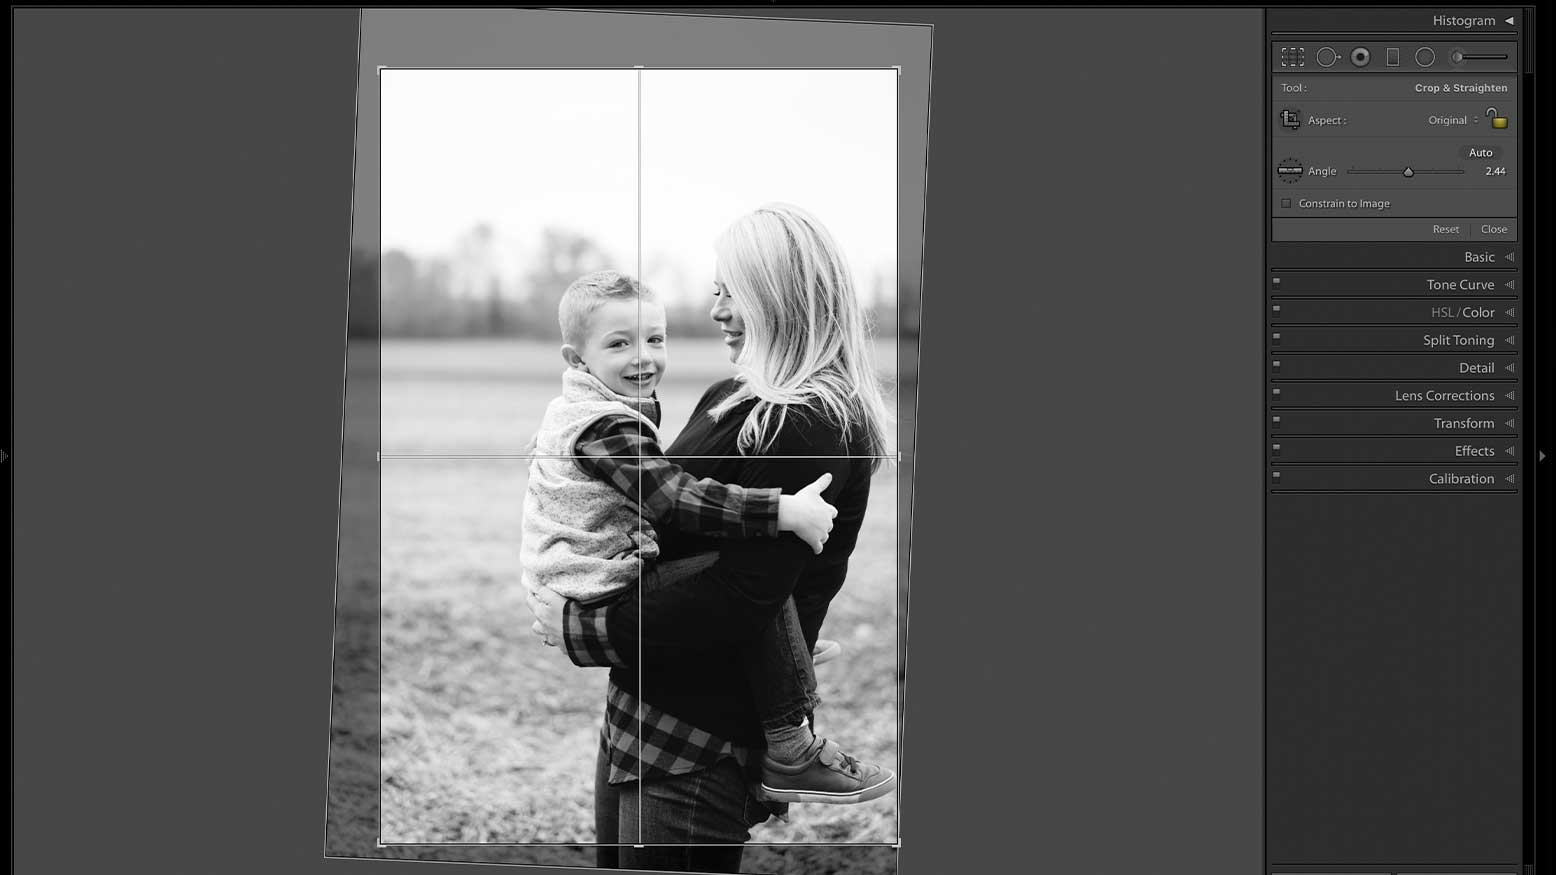
While in Develop mode, we can strike the “r” key to open the cropping module. Straightening is a simple task done by holding the command (mac) or ctrl key and clicking and dragging the cursor over a line to correct to. Then you can continue to hold command (mac) or ctrl and arrow right to go to the next image. One thing that had bugged me is there wasn’t a cropping overlay for centered subjects. Almost every other compositional standard was available, but not for centering. Well now we have it, and you can toggle cropping overlays by striking the “o” key.
Presets & Adaptive ISO
Presets are synonymous with Lightroom like actions are to Photoshop. Adobe added quite a few new presets to the defaults, finally including color profiles mixed in with lens corrections, chromatic aberration and noise reduction. These can all be found in the pre-built group called “Default.” Another group has been added called “Optics” for lens correction and chromatic aberration. What is odd is that no sliders are applied in the manual setting section, just a checked box.
Now for the exciting new feature added to Lightroom: adaptive ISO capabilities. This allows you to create a preset applying different levels of luminance noise reduction and sharpening. As you add more luminance noise reduction and it softens the image, this incrementally adds sharpening to correct this effect. This really changes the way I can build presets and work efficiently.
Here is how you set them up. Start by filtering your images in grid/Library mode by ISO speed. Then, choose the lowest ISO speed, adjust luminance noise reduction to your preferred setting as well as the amount for sharpening. Keep in mind these are the only two sliders used for this feature. Then, go to your high ISO speed, choose an image and make the proper adjustments to noise reduction and sharpening. Next, you select only those two images, go to Develop mode, and create a preset by holding shift + command (mac) or ctrl (PC) and striking the “n” key. Check the box next to sharpening and noise reduction as well as the new option at the bottom, “Create ISO adaptive preset.”
Once you create the adaptive ISO preset you can apply it in Library mode by selecting all images, then navigate under Quick Develop on the right to click on the Saved Preset field to find the preset in the drop-down menu. After it’s applied to all images, you can see the different settings between ISO speeds. This is really cool and helpful to add a little more automation to my workflow. Now keep in mind this does not account for the increase/decrease in exposure or shadow recovery made on high ISO speed images that may require more noise reduction, but it should get you 90% of the way there. That’s plenty for me!
The Results
Hopefully your upgrade process is as simple as clicking the upgrade link in the Adobe Creative Cloud manager app. Fear not if you install and this program runs terribly. You can uninstall and revert back to v8.4.1. Lightroom Classic v9.3 has been stable for me using it dailyon dozens of jobs and editing my pictures. The new features have been well-received and I’m even seeing a slightly better performance out of it, which is always welcome. It’s time for an upgrade and what better time than before busy season picks up!