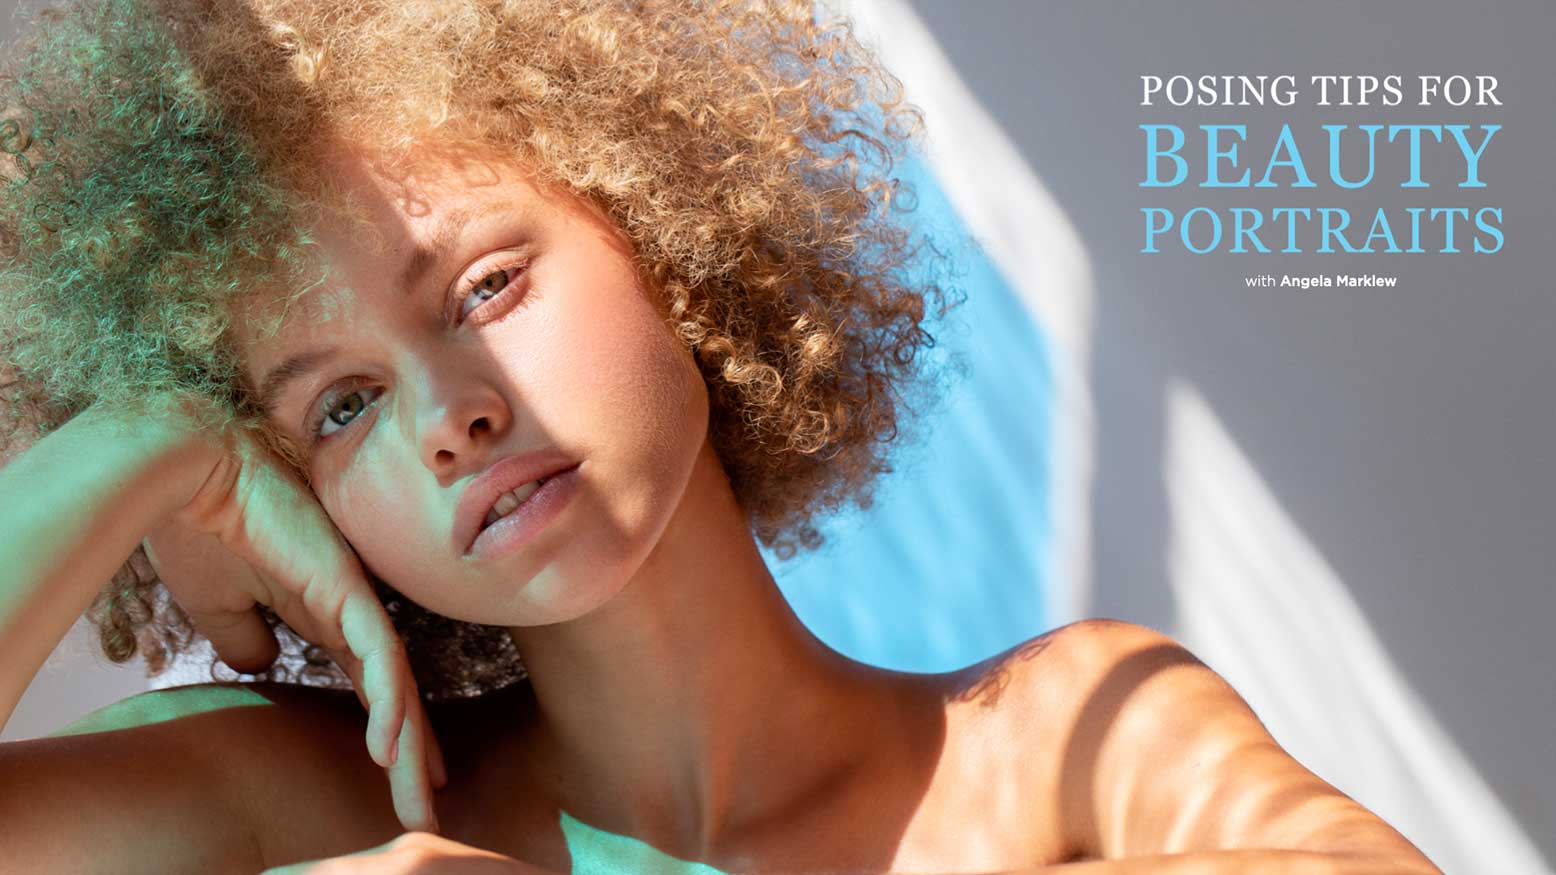
Posing Tips For Beauty Portraits with Angela Marklew
When it comes to posing models, one of the more difficult genres of photography is beauty portraits, especially for beginners. This can be a difficult arena for models as well. On numerous occasions I’ve heard models say something along the lines of: “I just don’t know what to do anymore. I’ve gone through all my ideas.” To help you (and your model) feel more confident with posing, I’m going to share Posing Tips & the process I use on each shoot.
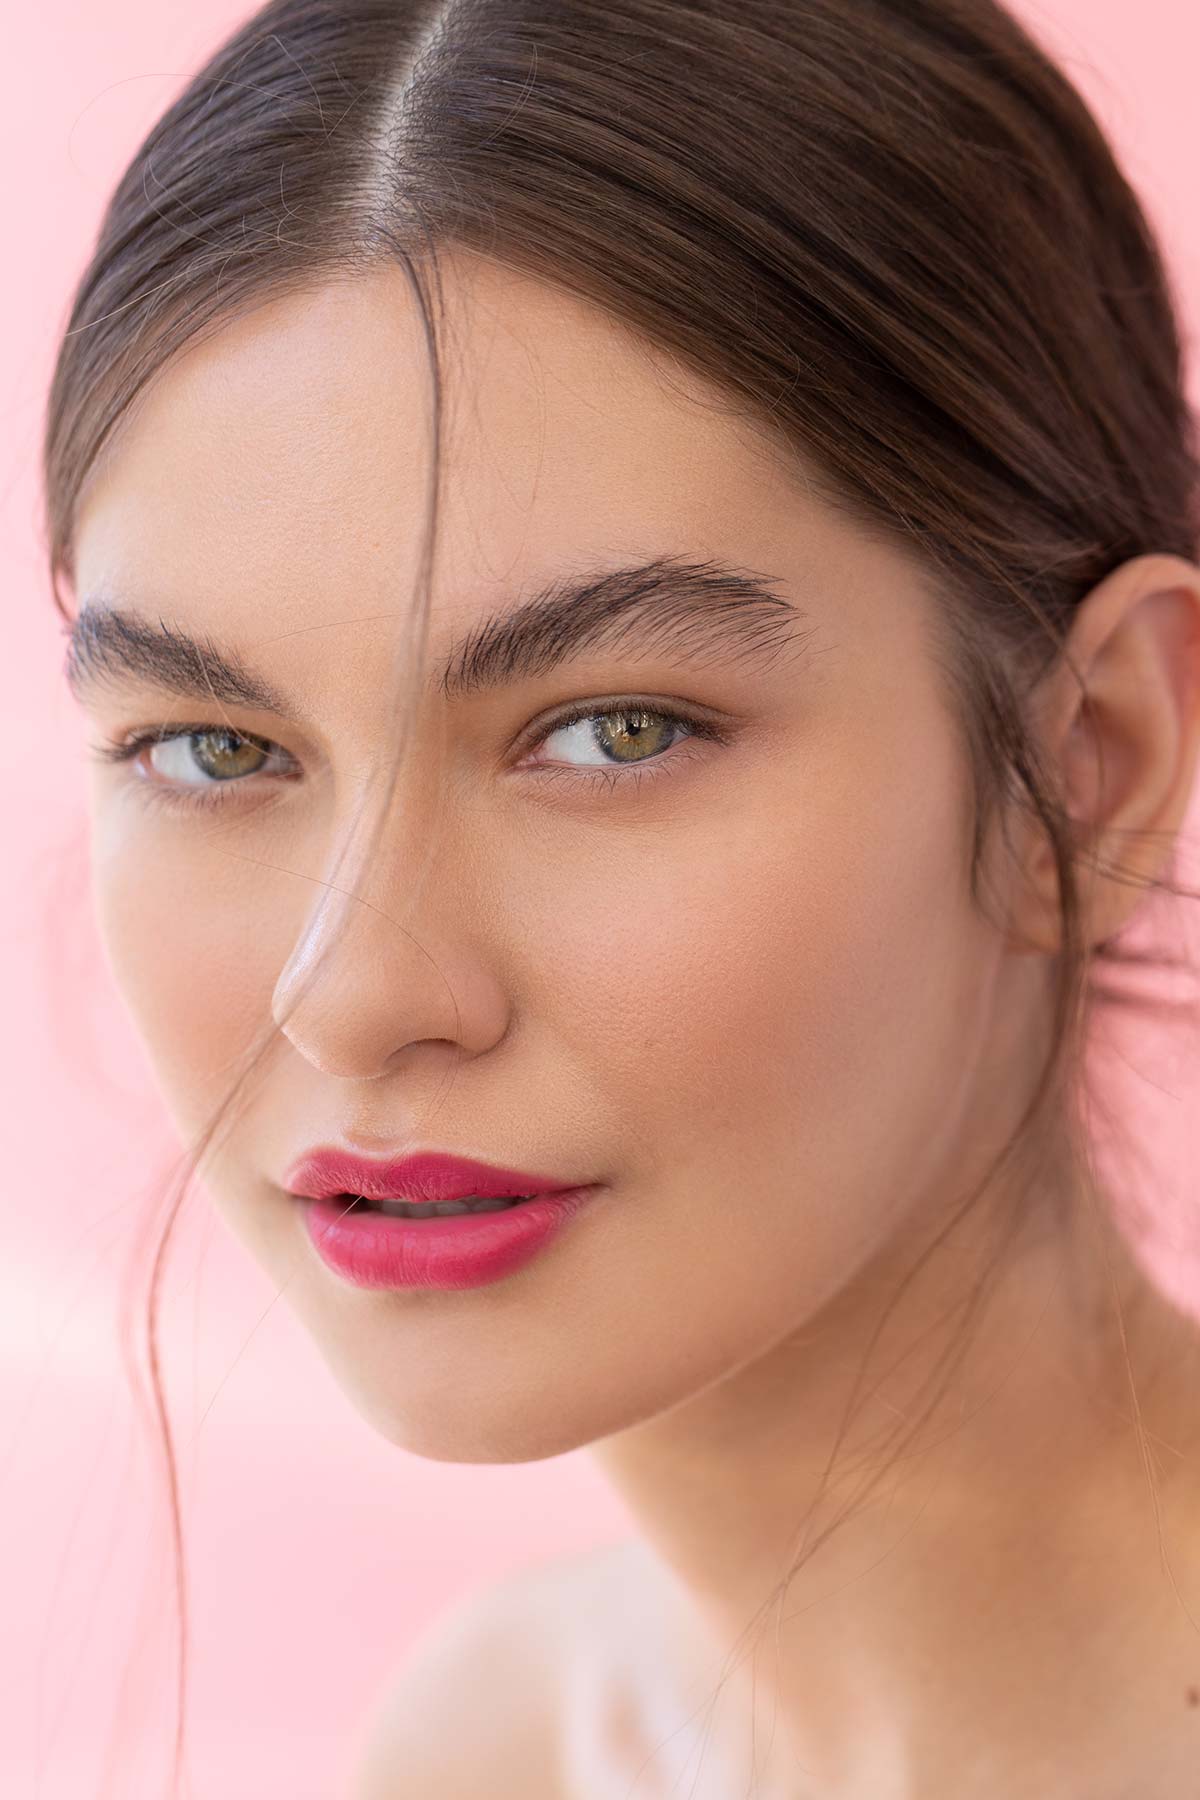
Start Simple
I start every shoot by seating my model on an apple box (or similar) and doing a simple head and shoulders frame. I call this the “warm up” look. I use this time to observe how my subject naturally moves with little prompting from me. I don’t ask them for any big expressions during this set, nor do I give them any specific instructions on how to move their bodies.
Once I’ve taken about 20 to 25 frames without giving any instruction, I have an idea of my subject’s comfort zone. It’s at this point that I’ll start giving little directions, which not only gets a pose where I want it to be, but is the beginning of taking my model outside this comfort zone.
The key thing to remember when posing for beauty shots is that small movements make big differences. When my model is in a pose I think has potential, I’ll ask them to tilt their chin up or down, tilt or turn their head to the left or right, or simply change their eye line. I combine this process with a series of small poses where I have them angle their bodies, and/or lift one shoulder slightly higher than the other to create a bit of visual interest.
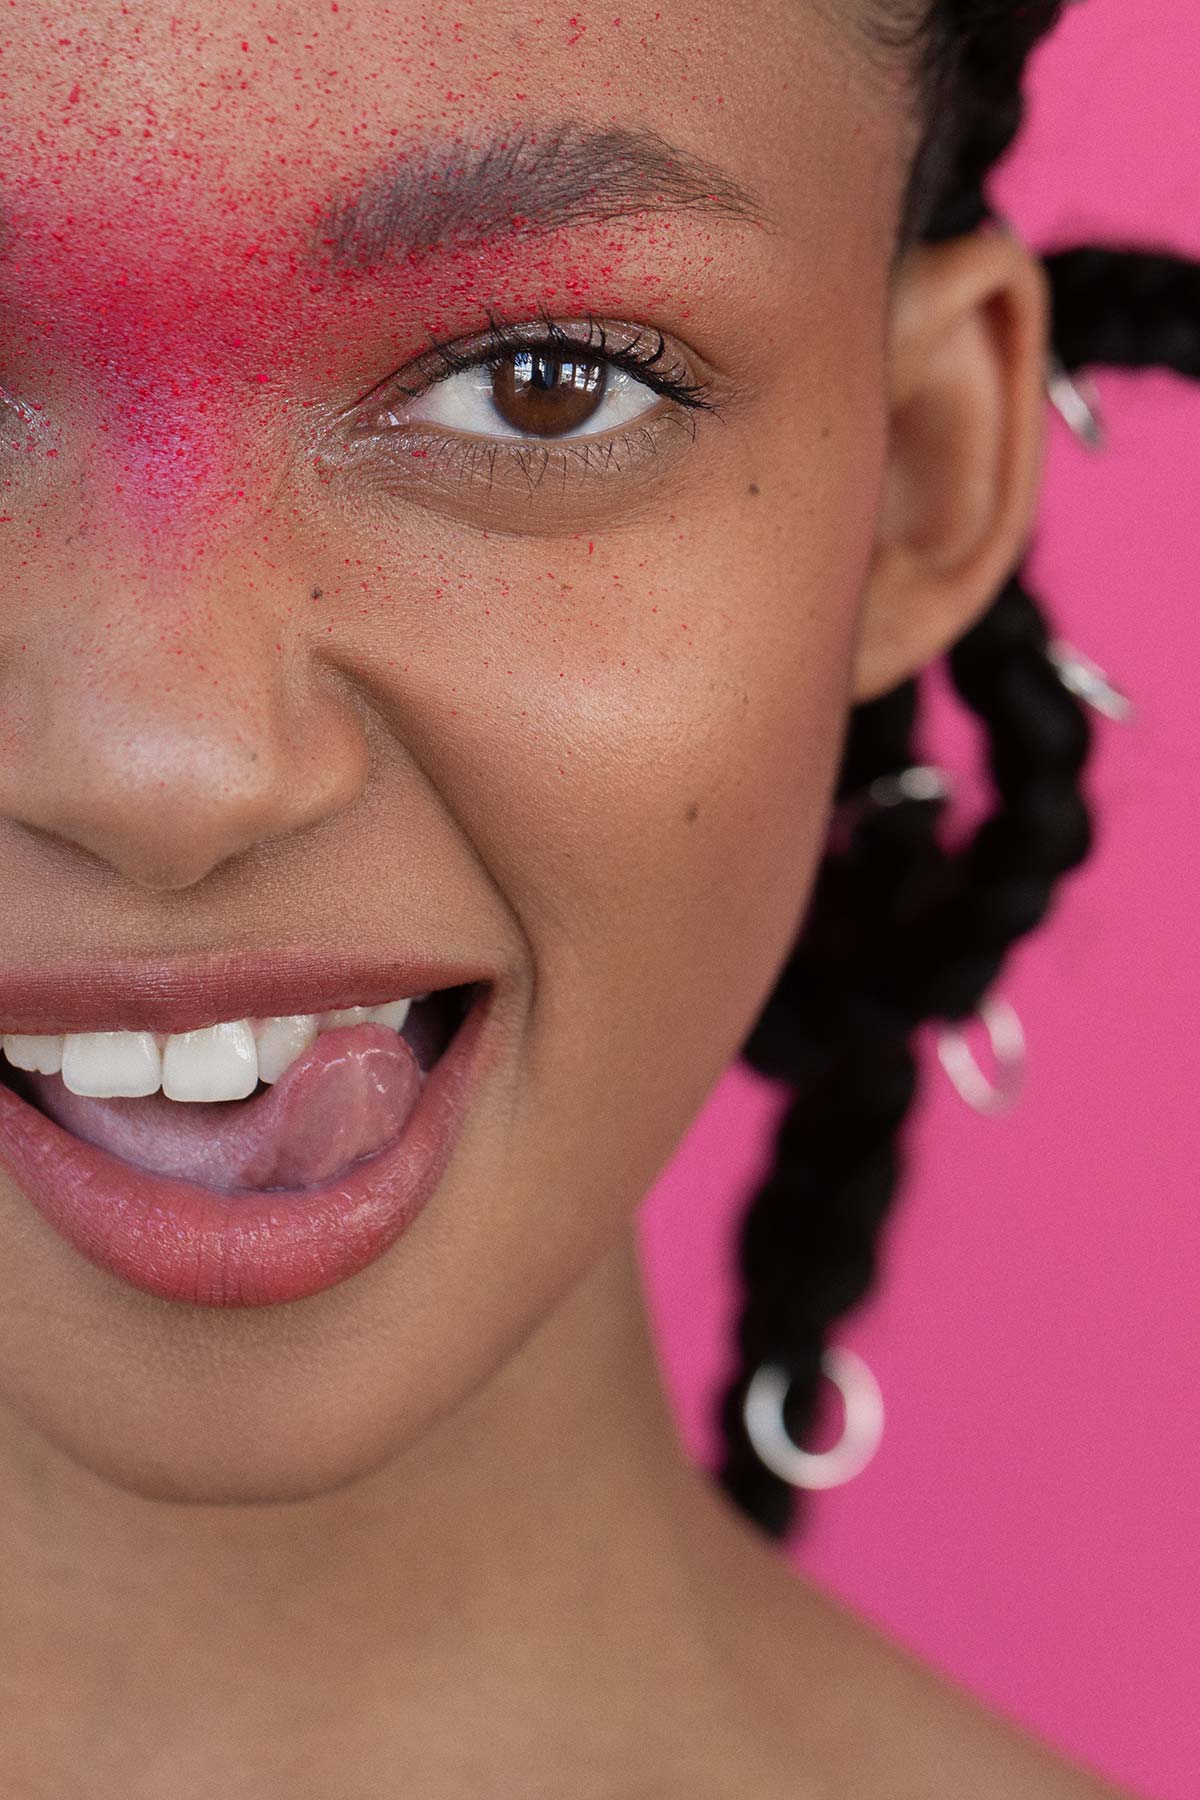
Incorporate Hands & Expression
I love models to use their hands and give big expressions. Posing hands can be tricky; it’s important to create something visually interesting while making sure the entire pose looks natural. More often than not, people get self-conscious about what their hands look like on camera. Similarly, people are often hesitant to give big expressions out of self-consciousness. To get past this, I always employ the idea of compliment, don’t criticize.
Instead of being quick to point out what’s going wrong, take the opportunity to let your model know what they’re doing right. Find the high points in the images (maybe it’s the smile) and compliment them, while mentally making note of the low points (maybe the hands are too stiff, or there isn’t enough going on in the eyes). You can then follow that up with what you’d like to see differently. For example, “Your smile is amazing in this set of images, but the hand positions aren’t quite working for me. Let’s try another set, and this time I’ll have you relax your hands a bit more,” as opposed to, “Your hands are looking really awkward, can you do something different?”