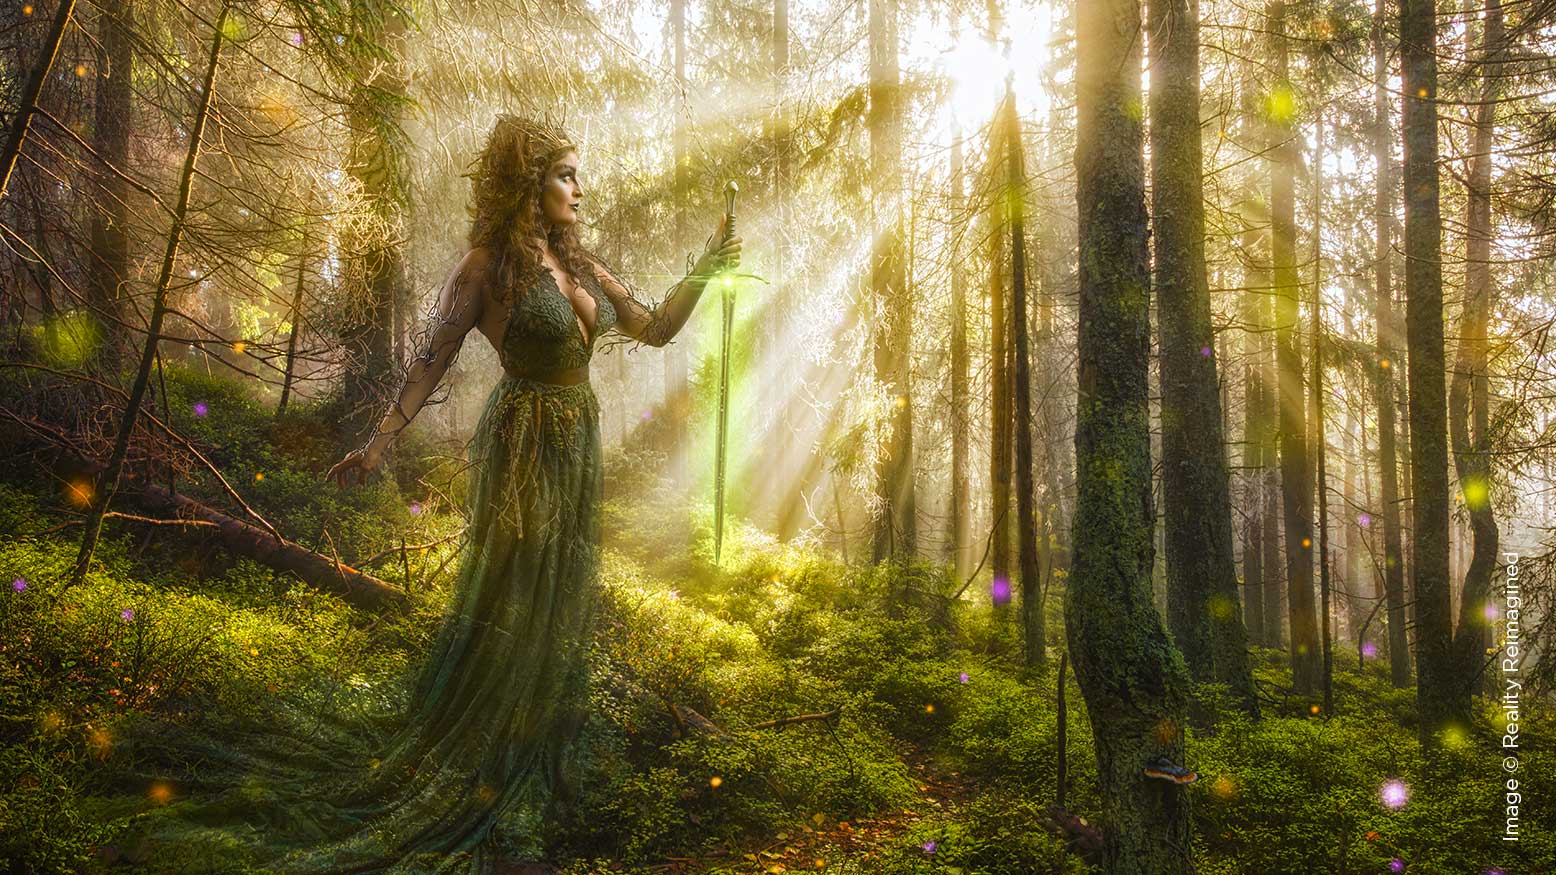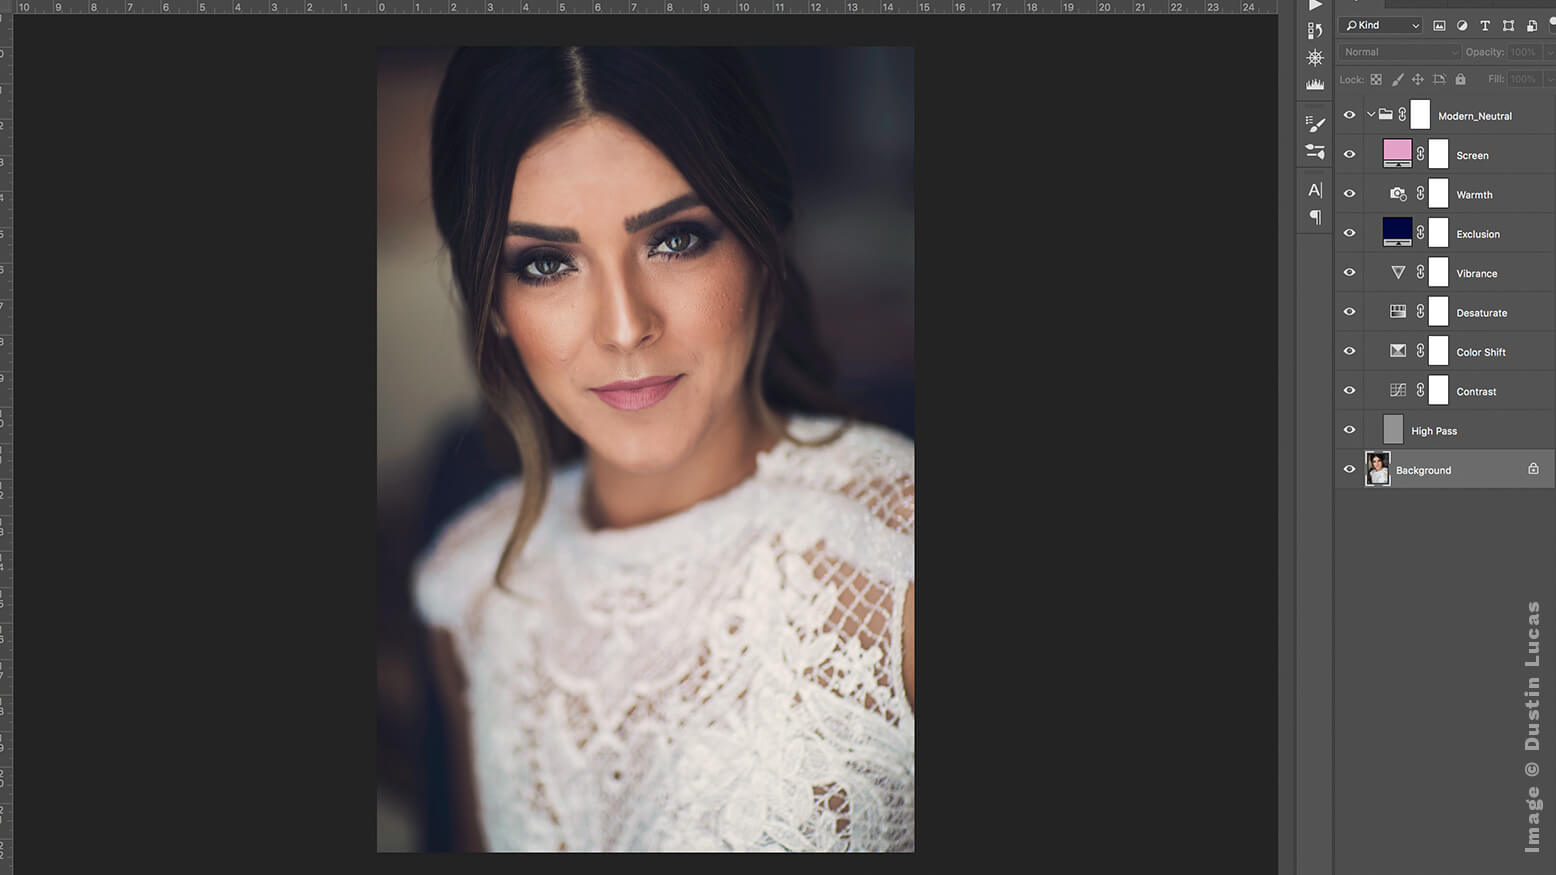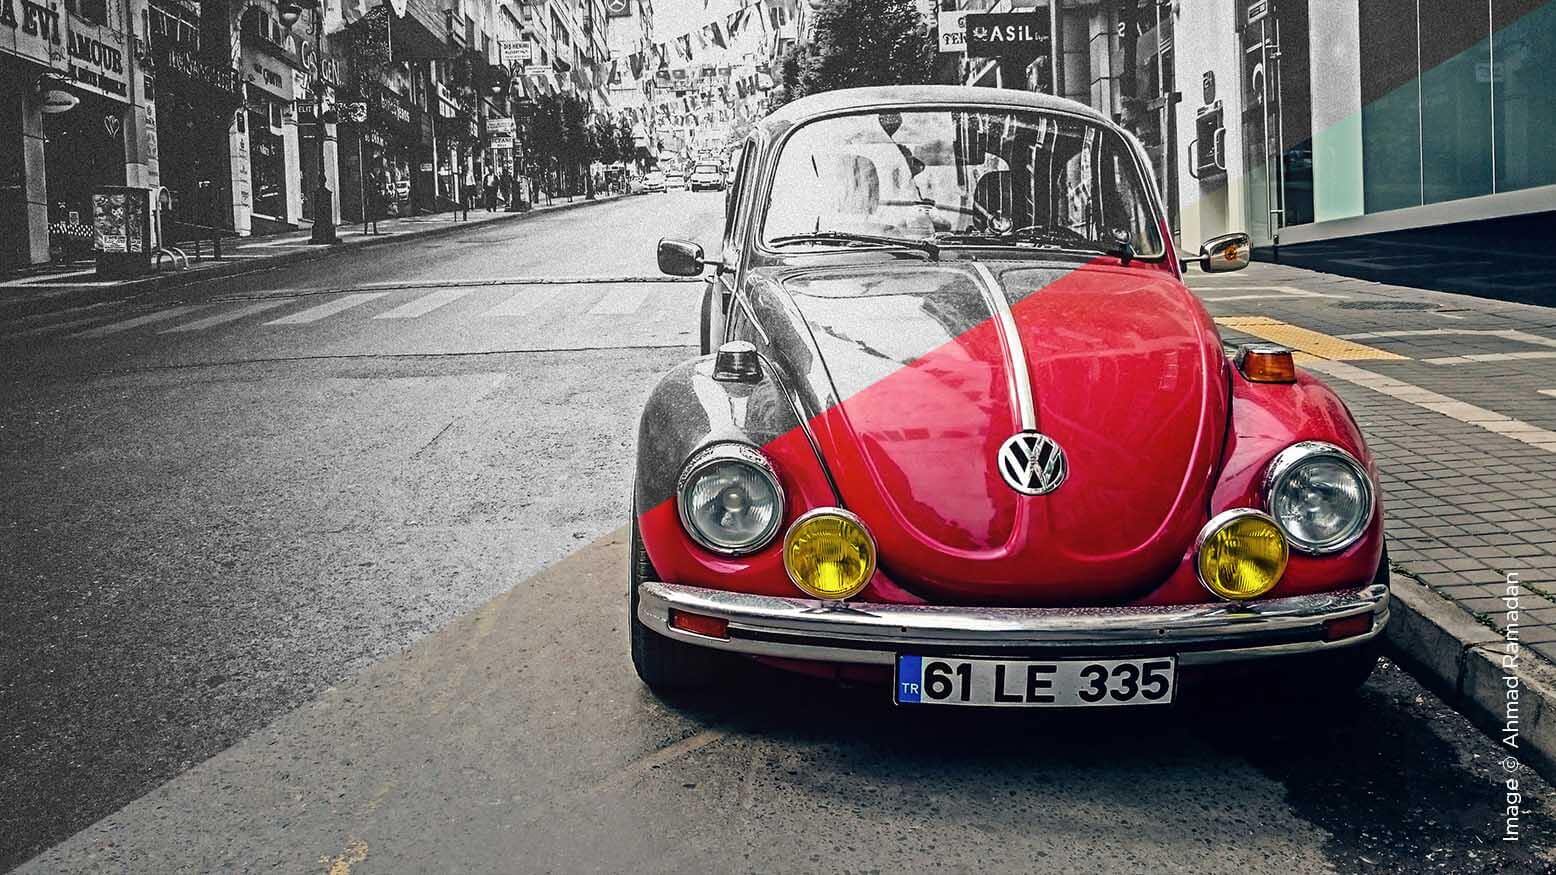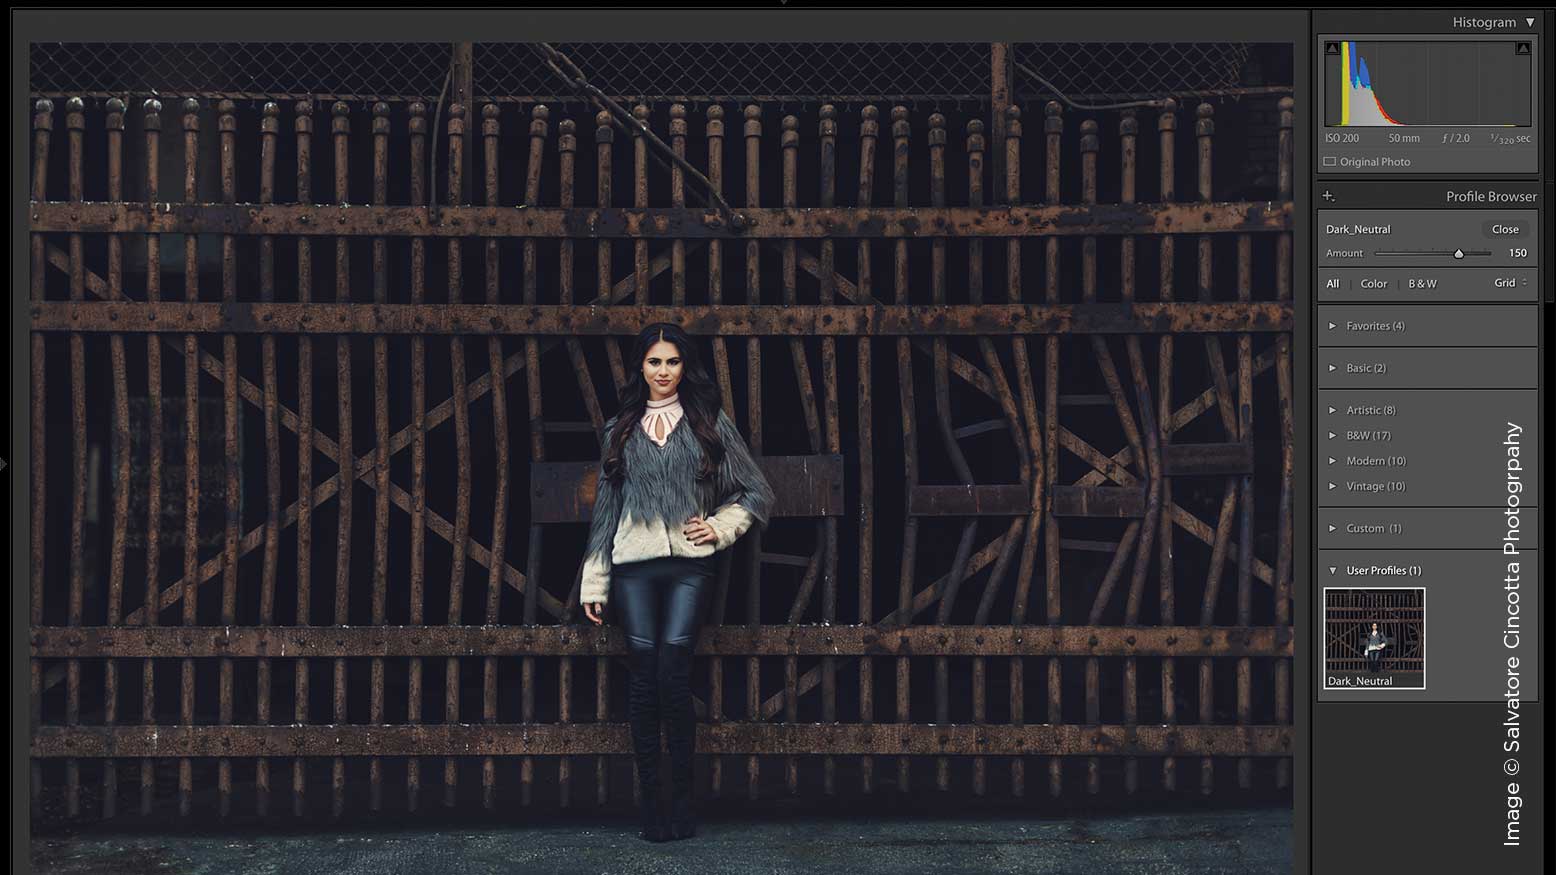
Photoshop to Lightroom: How to Turn Custom LUTs Into Color Profiles
Adobe Camera Raw is the solution for nondestructive editing from Lightroom to Photoshop using Smart Objects. This is useful for Lightroom to Photoshop, but what about Photoshop actions into Lightroom? Adobe’s recent improvements give us the ability to create Custom Color Profiles in Camera Raw, so we can flex our creativity with Photoshop actions and Custom Color Profiles by exporting Look Up Tables, or LUTs. This is a massive overhaul for Photoshop that makes our Lightroom workflow even more powerful.