3 Steps to Automate Your Editing Workflow | Lightroom + Photoshop with Dustin Lucas
Wedding season is rolling in as hot as the weather, and we are all stretching out the clock with time spent at the computer. It’s game time and you need automation to get your life back. When it comes to Lightroom and Photoshop, there are plenty of ways to speed up your workflow, like running building actions, running batch processes and with AI becoming more accurate, it’s time to revisit your workflow. In this article, I am going to show you how you can export hundreds of images from Lightroom, automatically apply a Photoshop action, flatten as a JPEG, take a lunch and when you come back, everything is ready to post.
The first step is to create an action or combine multiple pre-built actions and apply them by building droplets for Lightroom. The second step is building Lightroom export presets and linking our droplets. The third step is all about testing and adjusting our automation tasks. You always want to run this on a single image first before you make 800+ mistakes. Let’s dive into Photoshop to get started on creating actions and droplets.
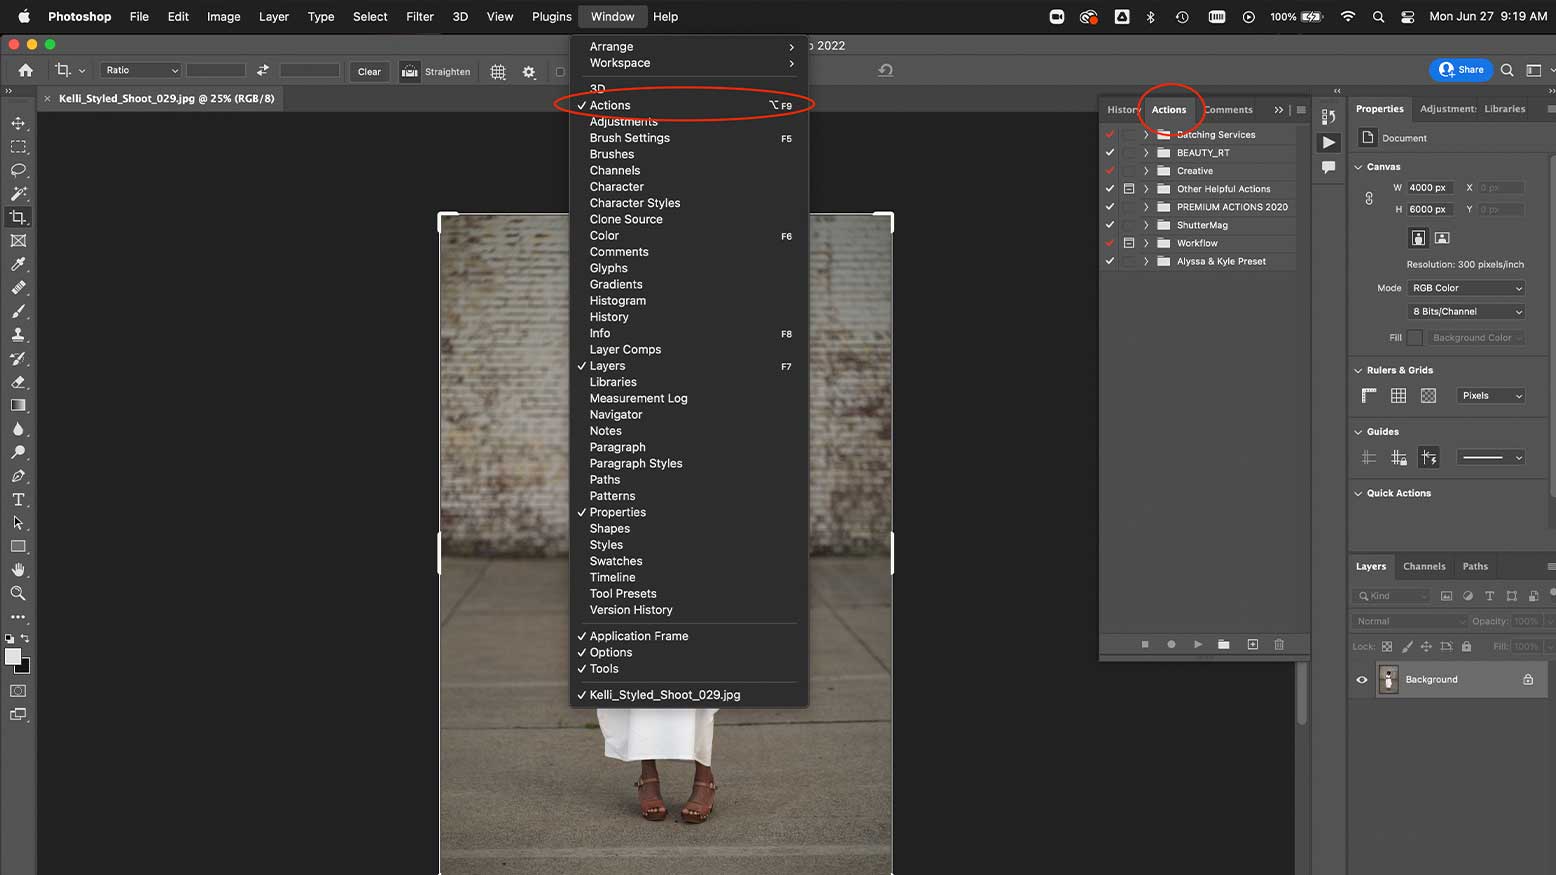
Step 1: Create a Photoshop Action and Droplet
If you already have actions in Photoshop, this is half the battle. For those of you who don’t, here is a quick way to make one. If you aren’t sure what an action is, that’s OK too. Think automation. An action applies a set number of layer adjustments and settings, and is completely customizable, applied with a click of a mouse or tablet. Applying the same action is perfect for anyone using skin-softening actions or creative toning. Think of the time saved to batch apply this to hundreds of images while you take a lunch or move to another task. This can be a game-changer for newer photographers and ones not as well-versed in Photoshop.